#nextjs
#microsoft clarity
#web analytics
How to Add Microsoft Clarity to a Next.js App Without Hurting Performance
Want to track real user behavior on your website? This guide shows how to integrate Microsoft Clarity into a Next.js app the correct way using the Next.js Script component so the analytics script loads without blocking your UI or hurting performance.
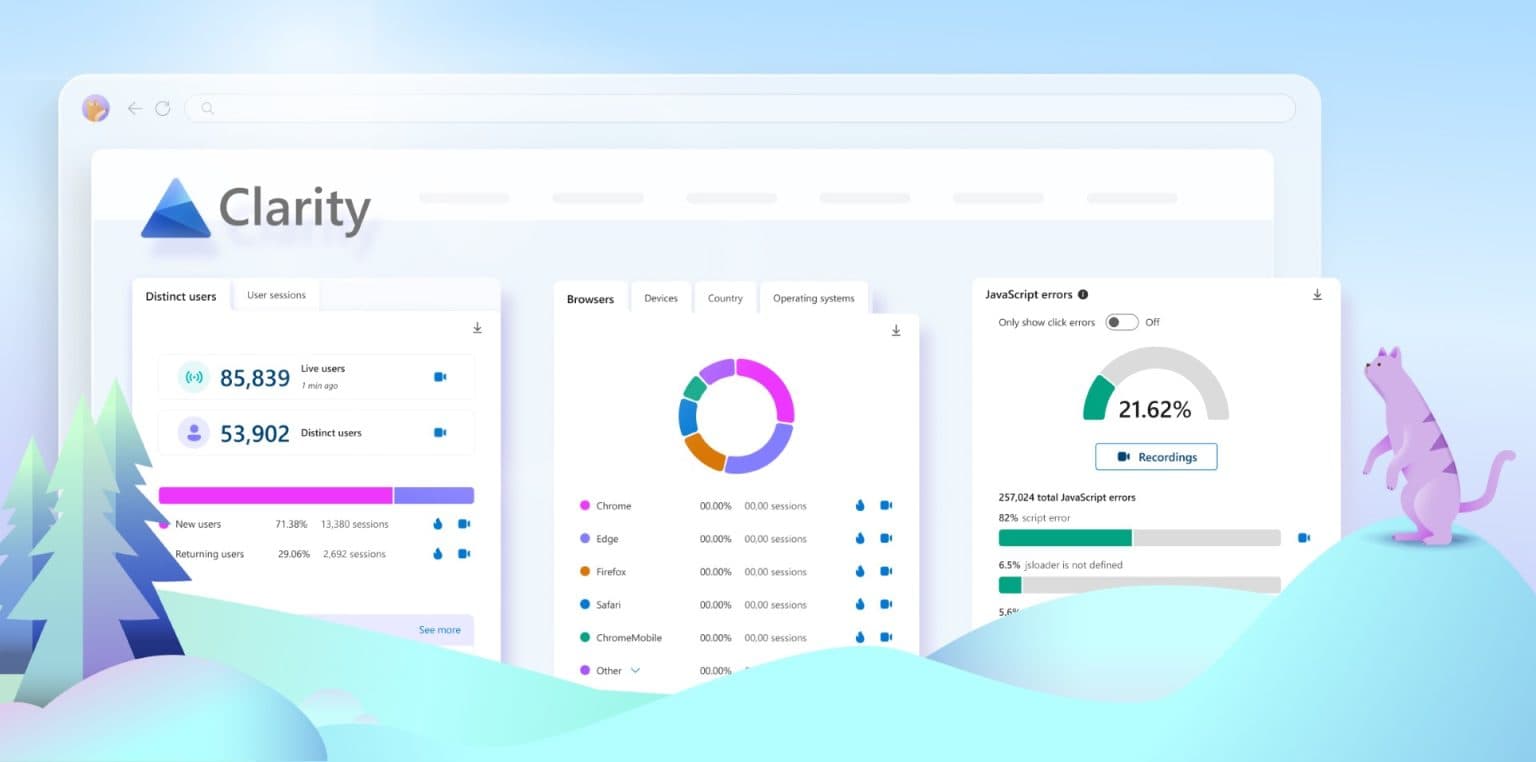
Why Developers Should Use Microsoft Clarity
If you're building modern web applications, understanding how users actually interact with your UI is critical.
That’s where Microsoft Clarity becomes extremely useful.
Clarity is a free analytics tool that helps you understand real user behavior through:
Heatmaps
Session recordings
Rage click detection
Dead click detection
Scroll tracking
AI-powered UX insights
Unlike many analytics tools, Clarity focuses specifically on UX behavior rather than just page views.
But there’s a common mistake developers make when installing it.
Most tutorials tell you to paste the raw tracking script directly into your HTML, which can block the main thread and slow down your page rendering.
For Next.js applications, there’s a better way.
By using the built-in Next.js Script component, you can load the Clarity script after the page becomes interactive, ensuring it does not impact initial page performance.
Let’s walk through the optimized implementation.
Step 1: Create a Clarity Component
First, create a reusable component called Clarity.tsx.
This component loads the Microsoft Clarity tracking script only after the page becomes interactive, which prevents it from blocking the UI.
import Script from "next/script";
export default function Clarity() {
const CLARITY_ID = process.env.NEXT_PUBLIC_CLARITY_ID;
if (!CLARITY_ID) return null;
return (
<Script
id="microsoft-clarity"
strategy="afterInteractive"
dangerouslySetInnerHTML={{
__html: (function(c,l,a,r,i,t,y){             c[a]=c[a]||function(){(c[a].q=c[a].q||[]).push(arguments)};             t=l.createElement(r);t.async=1;t.src="https://www.clarity.ms/tag/"+i;             y=l.getElementsByTagName(r)[0];y.parentNode.insertBefore(t,y);         })(window, document, "clarity", "script", "${CLARITY_ID}");,
}}
/>
);
}
Using a dedicated component keeps the implementation clean, reusable, and easy to maintain.
Step 2: Add the Component to Your Root Layout
Next, import the component inside your app/layout.tsx file.
Place it right before the closing body tag so Clarity runs globally across your application.
// app/layout.tsx
import Clarity from '@/components/Clarity';
export default function RootLayout({ children }: { children: React.ReactNode }) {
return (
<html lang="en">
<body>
{children}
{/* Drop it right before the closing body tag */}
<Clarity />
</body>
</html>
);
}
Since the layout wraps your entire app, Clarity will automatically track every page and user interaction.
Step 3: Store Your Clarity Project ID in Environment Variables
Finally, add your Clarity Project ID to your .env.local file.
NEXT_PUBLIC_CLARITY_ID=your_id_hereUsing environment variables keeps your configuration secure and environment-specific, which is especially useful when working across development, staging, and production environments.
What Happens After Deployment
Once your application is deployed with Clarity installed:
Wait a few hours for user traffic
Open your Microsoft Clarity dashboard
Review session recordings and heatmaps
Clarity also includes an AI assistant called Copilot that can automatically summarize:
UX friction
rage click patterns
confusing UI elements
user navigation behavior
This makes it much easier to identify real usability issues in your interface.
Final Thoughts
For developers building modern applications, observing real user behavior is one of the fastest ways to improve UX.
By integrating Microsoft Clarity using the Next.js Script component, you get:
Better performance
clean architecture
reusable implementation
powerful UX analytics
And since Clarity is completely free, it’s one of the highest ROI tools you can add to your stack.